Kitchen Island Design Ideas for Better Flow and Everyday Living
Plan a kitchen island that improves movement, storage, seating, lighting, and everyday function without overwhelming the room.
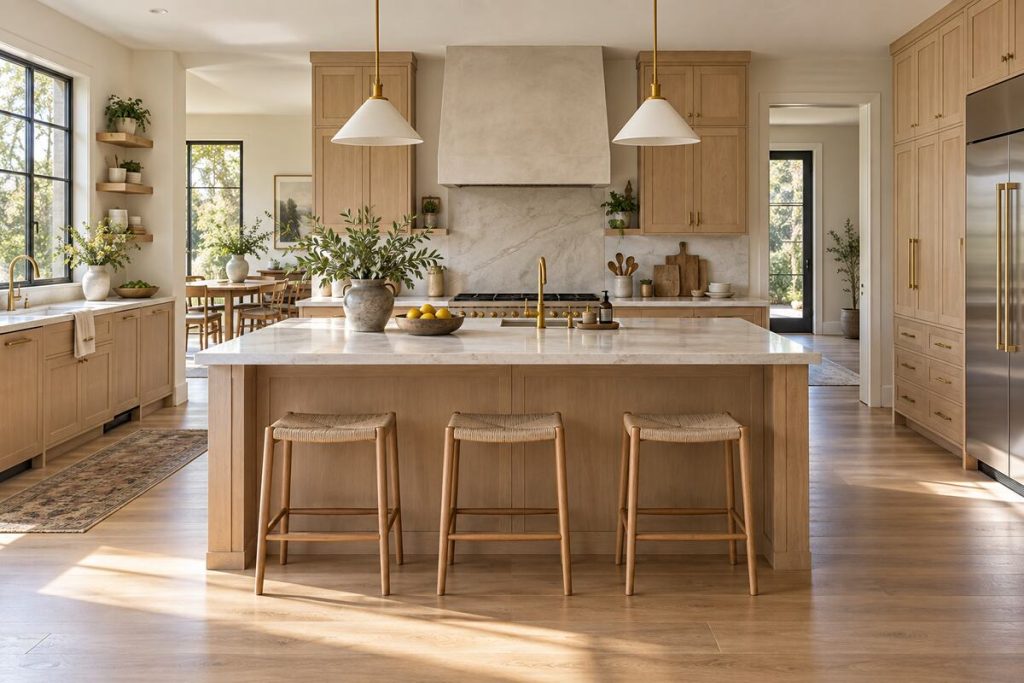
A kitchen island can become the hardest-working element in the room—or the obstacle everyone has to walk around. The difference is thoughtful planning. The best kitchen island design ideas begin with circulation, daily routines, and realistic storage needs before color, countertop, or pendant lights enter the conversation.
A well-designed island gives preparation, serving, conversation, and cleanup a clear home. It should feel connected to the cabinets around it while still giving the kitchen its own character. Whether you are planning a large remodel or adding a freestanding worktable to a compact room, this guide will help you choose an island that supports the way your household actually lives.
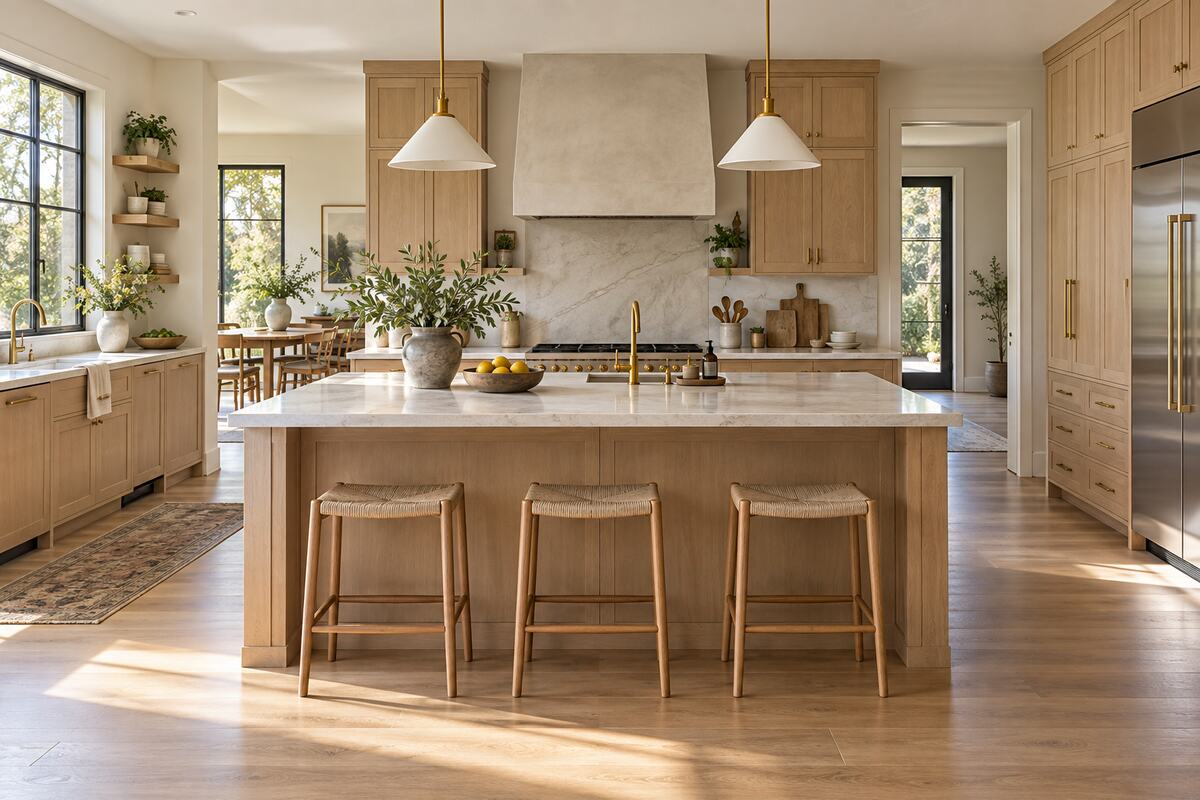
Start With the Way You Use the Kitchen
Before deciding how the island should look, write down what you need it to do. Some households want a broad uninterrupted surface for baking and meal preparation. Others need a breakfast spot, homework station, serving buffet, or a place where guests can talk without entering the cooking zone. The island may also need to hold a sink, dishwasher, microwave, recycling center, or everyday cookware.
Prioritize these functions instead of trying to include all of them. An island overloaded with appliances, seating, display shelves, and a sink can leave very little usable countertop. Choose one primary purpose and one or two supporting roles. For example, a preparation island might combine deep drawers and a small prep sink, while a social island may focus on comfortable seating and a generous clear surface.
Notice how food moves through the room: from refrigerator to sink, from preparation space to cooktop, and finally to the table or serving area. The island should shorten these routes without cutting across them. If you are reconsidering the whole space, our guide to modern kitchen ideas for a functional home offers a useful wider framework.
Size the Island Around Clear Walkways
The room—not a showroom photograph—must determine the island’s dimensions. Begin by marking the proposed footprint on the floor with painter’s tape or flattened cardboard. Open the oven, dishwasher, refrigerator, and nearby drawers. Then walk through the kitchen as if you were preparing a meal while someone else passes behind you.
As a practical starting point, many kitchens feel comfortable with roughly 36 to 42 inches of open space around the island. A busy work aisle, an appliance door, or two cooks may need more. These figures are guides rather than universal rules; cabinetry depth, handle projection, door swings, household mobility, and local requirements can change what works.
A slightly smaller island with generous circulation will usually perform better than an impressive oversized block. It will also make surrounding cabinets easier to reach and keep the room from feeling visually compressed. If the taped outline makes you turn sideways or blocks a natural path, reduce the width, shorten the ends, or consider a different solution.
Choose a Smart Island for a Small Kitchen
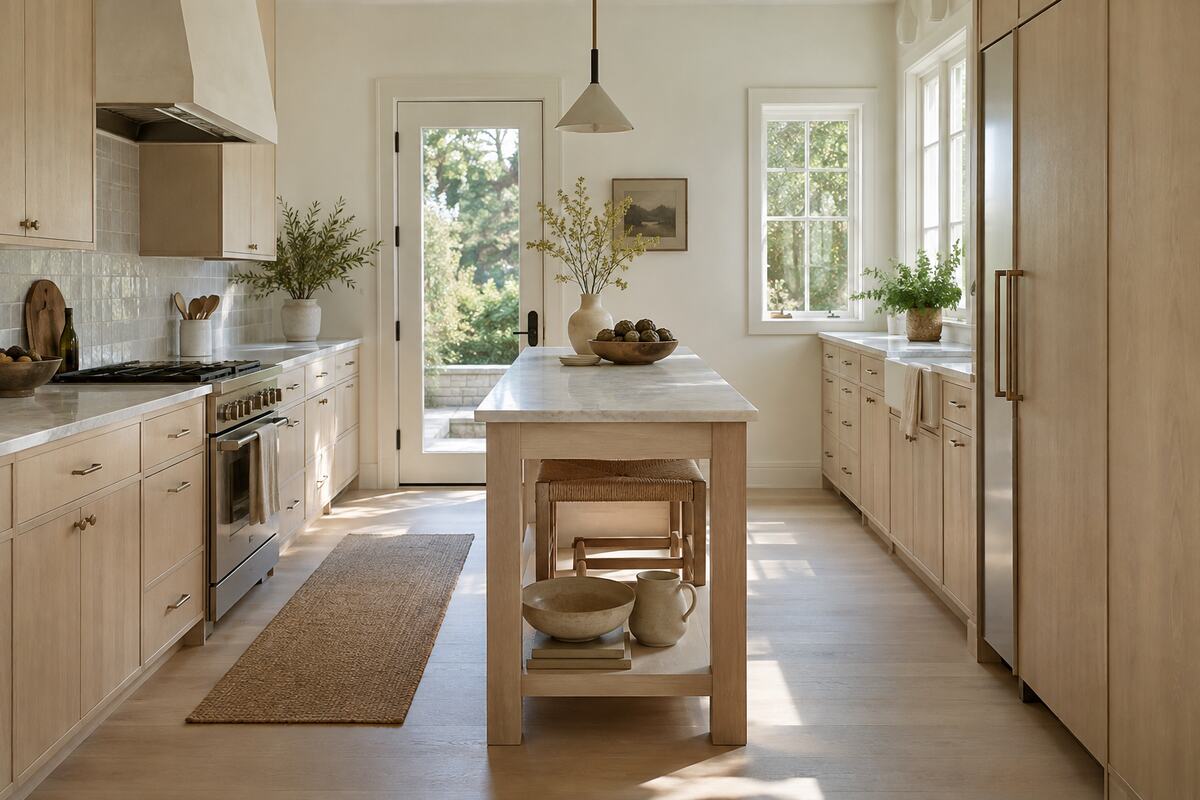
A compact kitchen does not automatically rule out an island. It changes the form the island should take. A narrow freestanding table, a butcher-block cart, or a shallow cabinet with an overhanging top may provide the extra surface you need while preserving a sense of openness.
Visually light designs work especially well. Legs reveal more floor, open shelves reduce the appearance of bulk, and rounded corners make tight circulation feel more forgiving. A mobile island can move aside during gatherings, but it should have reliable locking casters and a stable work surface. Avoid adding stools simply because an island often has them; seating that blocks a narrow aisle will make the room less useful.
Match the solution to the true shortage. If the kitchen lacks preparation space, keep most of the top clear. If storage is the main issue, choose drawers rather than decorative shelves. If the room needs a place for morning coffee, a short overhang and one stool may be enough. More strategies for avoiding visual crowding appear in our article on decorating small spaces so they feel larger.
Plan Storage Before Selecting Finishes
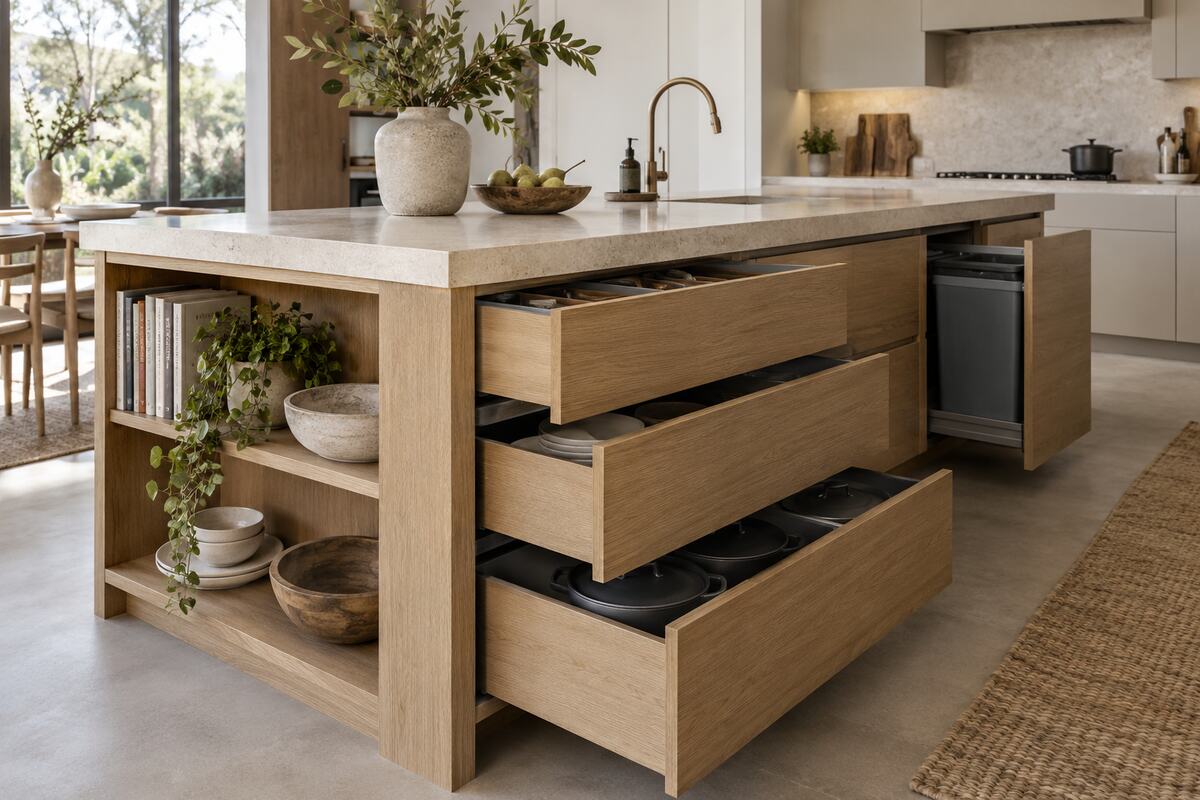
Island storage is most useful when it holds items needed near the island. Deep drawers are excellent for mixing bowls, pots, small appliances, and food containers because their contents remain visible from above. Shallow drawers organize utensils, wraps, and baking tools. A pullout bin can simplify preparation and cleanup when positioned close to the main work surface.
Reserve open shelving for a limited group of objects that are easy to keep tidy: cookbooks, a few serving bowls, or baskets for linens. Too many open cubbies on a working island quickly become cluttered. Closed cabinetry creates a calmer impression and protects less attractive essentials.
Think carefully about which side each storage feature faces. Cookware belongs near the cooking side, dishes may be more convenient toward the dining area, and a breakfast drawer can face the seating. Make sure opened drawers do not collide with appliance doors or stop people from moving through a major path.
End panels are useful but easy to overdecorate. One shallow shelf or a discreet rail can be practical; multiple tiny niches often add visual noise without meaningful capacity. Let the storage plan solve genuine problems before using it as a styling device.
Create Comfortable Seating Instead of Decorative Seating
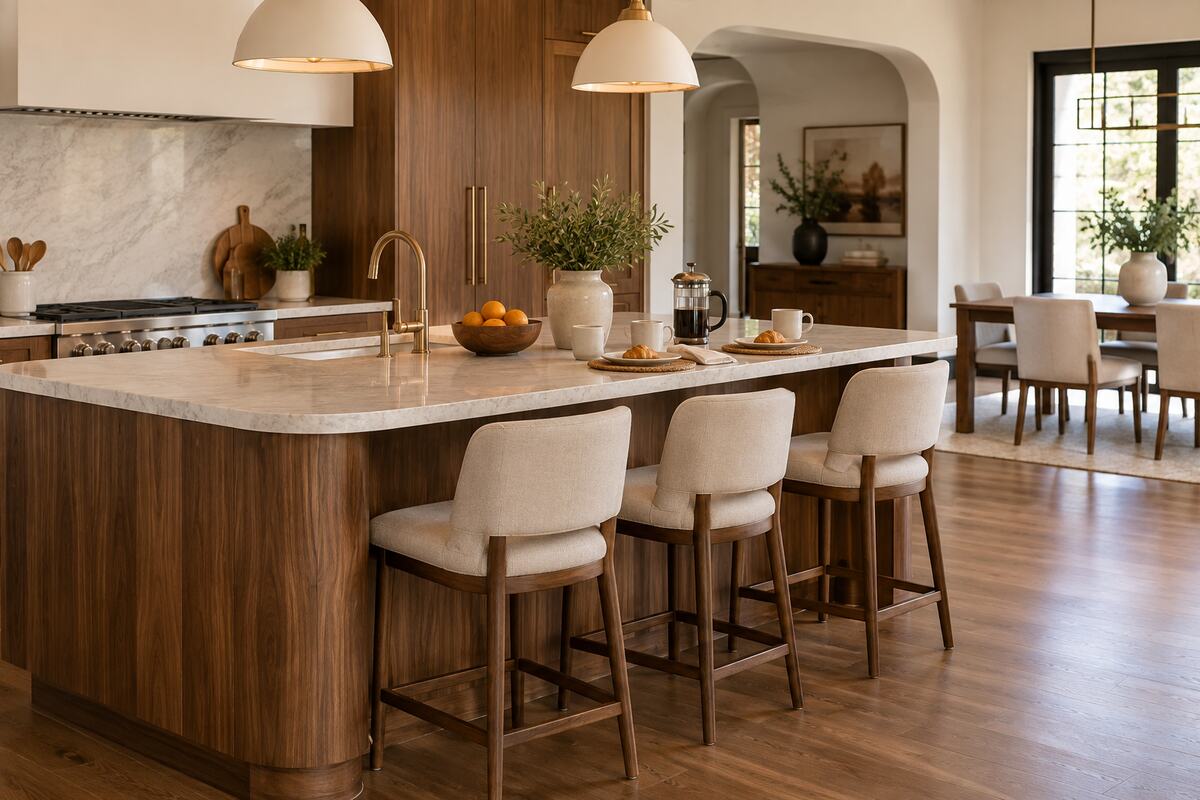
Island seating succeeds when people can sit naturally and others can still move behind them. Provide enough countertop overhang for knees, choose a stool height that matches the counter, and leave usable width for each person. Backless stools disappear neatly under the top, while stools with backs are often more comfortable for longer meals or homework.
The space behind the stools matters as much as the seating itself. A passage that feels adequate when the stools are empty may become blocked when someone is seated. Test this with dining chairs before finalizing the plan. If the island sits beside a door or main route, reduce the number of seats or move them to one end.
Consider conversation as well as capacity. Seating along two adjacent sides feels more sociable than a long row because people can see one another. A curved or softly rounded end can support this arrangement and remove sharp corners from a high-traffic area. Do not squeeze in an extra stool if it reduces comfort for everyone.
Decide Whether the Island Needs a Sink or Cooktop
Adding plumbing or cooking equipment turns the island into a true work zone, but it also increases cost and complexity. A sink works well when it improves the route between refrigeration, washing, and preparation. A compact prep sink can preserve more uninterrupted surface than a large main sink, while the dishwasher should sit where its open door does not block the busiest path.
A cooktop can make cooking more social, yet it requires a thoughtful ventilation plan, safe clearances, and protection from passing traffic. Grease, steam, and hot cookware become part of the island experience. Seating should not sit too close to the cooking surface, and the installation must follow appliance specifications and local building requirements.
If the existing perimeter already works well, a clean island may be the better choice. An appliance-free top is flexible: it can shift from meal preparation to baking, serving, crafts, and entertaining without obstacles. Function does not always mean adding more equipment.
Select a Countertop for Work and Maintenance
The island countertop often becomes the largest horizontal surface in the kitchen, so both performance and appearance matter. Quartz and many engineered surfaces offer consistent pattern and straightforward maintenance. Natural stone brings variation and depth but may require sealing or more attentive care. Wood adds warmth and can be gentle on dishes, although it needs protection from standing water and heat.
Consider how pattern will appear across a large slab. Dramatic veining can make the island a focal point; a quieter surface may suit a room that already contains patterned tile or strong cabinet color. A waterfall edge creates a sculptural look, while a standard eased edge is often more economical and visually light.
Rounded corners can soften movement around the island, especially near seating or a narrow passage. Whatever material you choose, use trivets, cutting boards, and the manufacturer’s recommended cleaning products. A durable surface lasts longest when its limits are understood.
Layer Lighting Above the Island
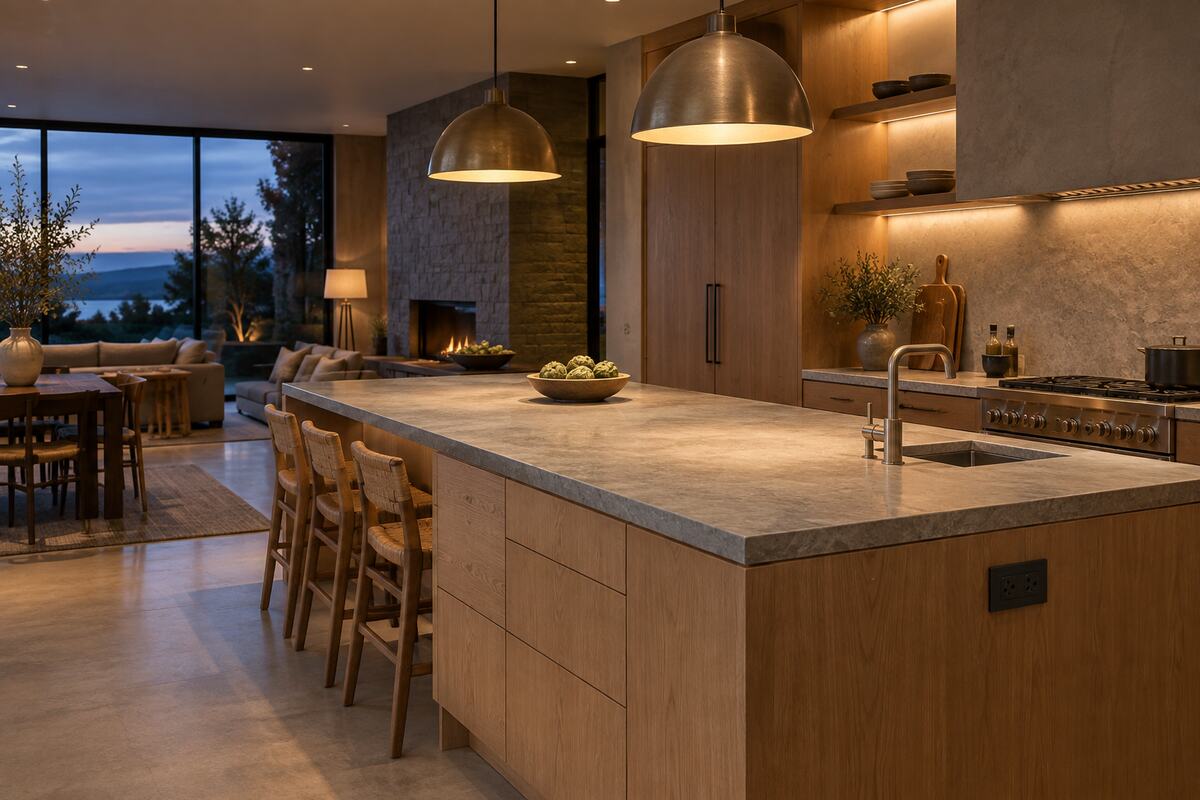
Pendants give an island visual presence, but they should also illuminate the worktop without creating glare or blocking views. Choose fixtures in proportion to the island rather than automatically installing three small lights. Two medium pendants may look calmer over a long surface, while one substantial linear fixture can suit a minimalist room.
Hang the lights high enough to keep sightlines open and low enough to direct light where it is needed. Check the actual fixture dimensions, ceiling height, and manufacturer guidance before installation. Combine pendant light with general ceiling illumination so the island does not become a bright pool surrounded by a dim kitchen.
A dimmer helps the island move from active preparation to a softer evening atmosphere. Keep bulb color consistent with nearby lighting for a cohesive appearance. The warm, material-led approach in our warm modern kitchen guide can help connect lighting with cabinetry and finishes.
Include Power Without Letting It Dominate
Outlets make the island more useful for mixers, laptops, chargers, and small appliances. Plan them early so wiring can be integrated safely and discreetly. Depending on local requirements and the island construction, outlets may sit on a side panel, beneath the countertop edge, or in an approved pop-up unit.
Placement should reflect how the surface will be used. An outlet near the main preparation area prevents a cord from crossing a sink or walkway. A separate charging point near seating keeps devices away from food preparation. Electrical work should be designed and installed by a qualified professional in accordance with applicable codes.
Connect the Island to the Kitchen Without Matching Everything
The island can match the perimeter cabinets, but it does not have to. A different wood tone or painted color can give the room depth, particularly when repeated in stools, shelving, or small hardware. The key is connection: share the same countertop family, hardware finish, door style, or color temperature so the contrast feels intentional.
In a quiet kitchen, the island can carry the strongest material or color. In a room with dramatic cabinets or backsplash, a simpler island may restore balance. Limit decorative objects on the worktop to one purposeful grouping—a bowl, vase, or small tray—so the surface remains ready for daily use. Our easy kitchen decorating ideas offer additional ways to introduce character without adding clutter.
Test the Design Before You Commit
A full-size mockup is one of the most valuable planning tools. Tape the footprint, stack boxes to approximate the height, place chairs where stools would go, and live with the arrangement for a few days. Open every nearby door. Carry groceries through the room. Imagine someone washing dishes while another person uses the refrigerator.
This test often reveals more than a floor plan. You may discover that a corner should be rounded, an aisle needs a few additional inches, or seating belongs on another side. It is far easier to adjust tape and boxes than cabinetry and stone.
The strongest kitchen island design ideas balance beauty with movement. Start with a clear purpose, protect the walkways, and give storage and seating enough room to work properly. Once those decisions are sound, materials, color, and lighting can turn the island into a natural center of the home—useful on an ordinary morning and welcoming when the kitchen fills with people.